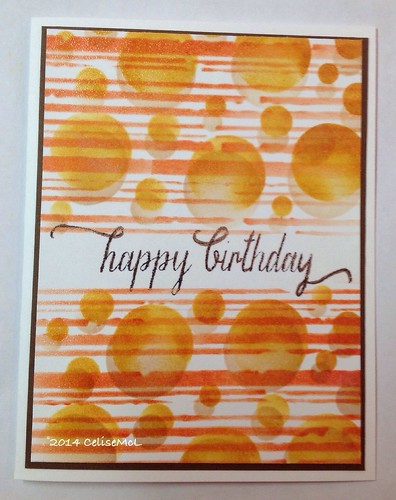
I finished my homework before class this morning. This birthday card was created using two stencils. One with circles which were offset and the lines was done with aTim Holtz stripes stencil. Colors are desert sand, tea dye and morocco orange. The sentiment is a hero arts stamp in stazon brown. It did not stamp well so I went over it with a brown prismacolor fine tip marker. I used clear embossing powder on the entire card and used my heat gun for the shimmer.
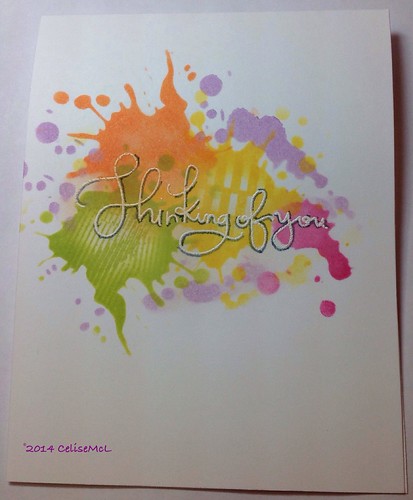 This card was so much fun to do. First I used Versamark ink for the sentiment and heat embossed with white powder. Then using the Tim Holtz splatters stencil which I was so fortunate to find at my local scrap booking store before the class began. The colors are pear tart, dandelion yellow, rose bud, orange and pansy purple. I used a couple of border stamps and then daubers to blend the colors. The orange ink was a color box pigment ink that would not come off the stencil. I thought I had ruined it. It covered up the embossed image too and would not come off with a baby wipe. I tried alcohol on the stencil and luckily it removed the stain. I remembered I had a chromatix alcohol blending pen and used that to remove the orange from the sentiment. It worked. As suggested in the class, I used a distress marker to give some shading to the "thinking of you" to help it to stand out. This is one really cool stencil, I think it will be a go to for me in the future when I want a messy back ground.
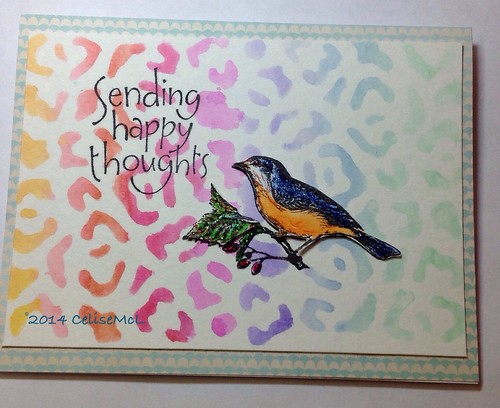
The next two cards were done using water color pens on water color paper. The background stencil to the right was about half the size of the page so I had to move it to complete the scene. The bird stamp was one of my first purchases when I started making cards last summer. I cut out the painted image and attached it to the background with adhesive strips. I used a border paper that came in this month's card kit from Simon Says Stamp. The next card was based upon Laura Bassen's hot dog card. I used the negative space of my dachshund die cut and water color pens. I flipped it over to get the mirror image. I got a kick out of the sentiment. Looks just like Andy and Daffodil.

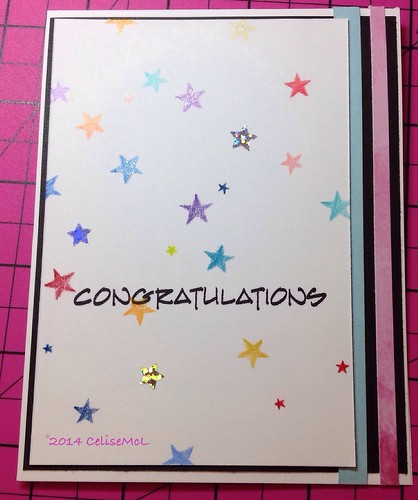
Tracing stencils. Using colored pencils to color inside the lines of the stencil. This next card was relatively simple. I used a Heidi swapp stencil to color in the stars, added a few silver embellishments, wink of Stella and a glitter pen. Added a couple of side stripes for accents.
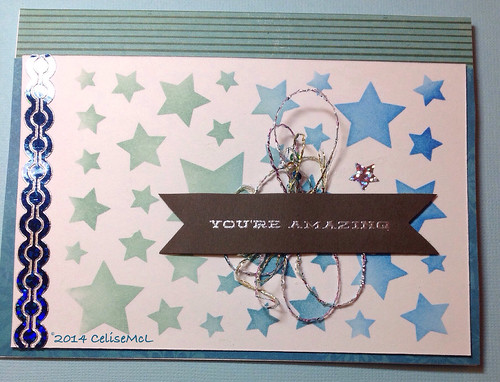
Sticker stencils. Using the negative space of your stickers. I don't have a bunch of stickers, but knowing now that I can use the negative space, I just may start looking for them. The only stickers I had were my stars so I used it. Unfortunately I did not de-stick the backing enough, so that when it came time to peel, I ripped it. Oh well one use only. I used distress colors of salty ocean and broken chin followed by versa magic oasis green. The stamp came from the Simon SaysLove This set which I embossed with silver powder. Taking my cue from Julie Ebersole I stuffed some silver twine behind the banner. I used a couple of printed sheets as backing and embellished with a teal dazzle border. May have been a little too much dazzle.
That completes day 2. I've been at this since before 8 am. Like a day at the office, but lots more fun. Until tomorrow!
Love them all…love that you give a little tutorial and supply list, too. If I had to pick a favorite it would be the second one with the TH Splatter stencil. So cute!
ReplyDeleteGreat cards! I'm really impressed that you tried out just about every technique demonstrated on day 2!
ReplyDelete