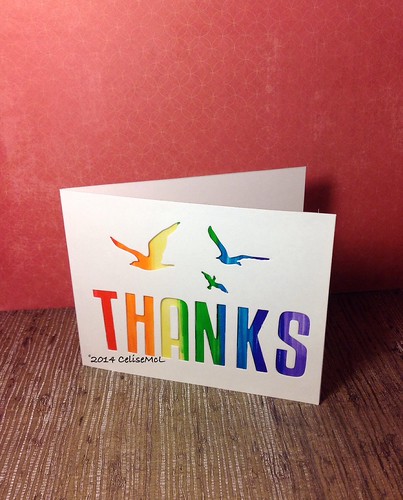
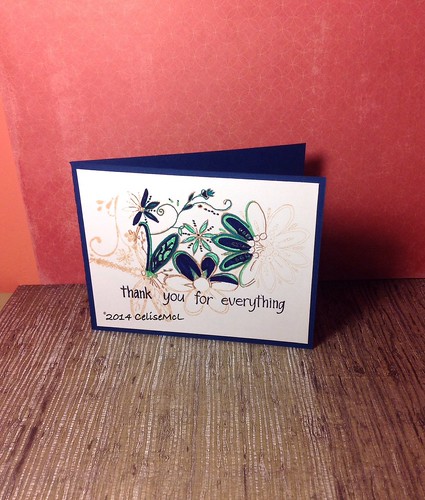
I am still catching up on the Clean And Simple 3 online card class. Lucky for me, the 10 day class spans 18 days so the 8 days I spent away did not hurt me that much.
Today I finished up the foreground /background lessons and moved into creative coloring. Since I had watched all the videos while I was away, I was looking forward to trying these particular techniques. The card on the left was created using dies on my Sizzix to create the negative space on a card. I used Marvy water color markers in a rainbow pattern on vellum and adhered it to the back. I LOVE the way this card turned out and it took so little effort.
I am getting the hang of clean and simple, even getting braver the more practice I get.
I really like the example for this card, but my coloring did not do it justice. First, I don't have a gold gel pen so I had to use a ballpoint then I don't have the steadiest hands, so my coloring is wobbly. I did not have Copics, but that did not make a difference, I used Marvy Water color pens instead. Nor did I have a detailed background stamp so I created my own background. The technique is to color only some of the image and leave the outer edges light with lots of white space. I accomplished that, but then I decided to cut the card down and mount it with adhesive to a blue base. Not true CAS but it needed some help.
This next card was free hand painting on water color paper. I had the watercolor paper, but freehand.... I thought not. I took my Simon Says feather die and embossed it onto the paper. That eliminated the need to draw a feather and gave me a good base to paint on.
I used Marvy Aqua blue mixed with water to paint the image. Thinking that a feather in your cap is a good thing, I stamped congratulations with a Fiskars stamp. After outlining the card with a stylus, it still was too plain so I used the Distress spritzer with a few colors to add color and 3 blue gems along the bottom. Ok now I am happy.


No comments:
Post a Comment