Saturday, May 31, 2014

Great ideas come from storms

A thunder storm woke me up at 3:30 am... Once my mind started working there was no going back to sleep.


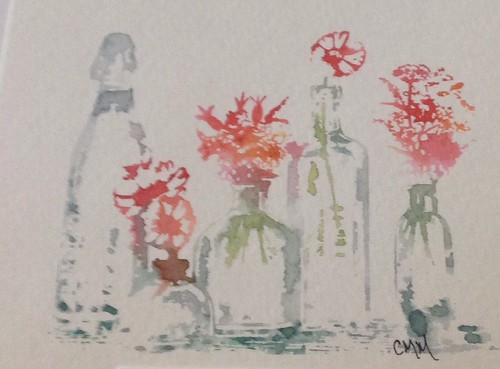
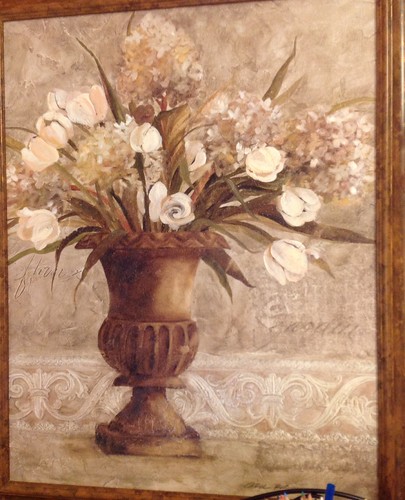
Remove the picture from this frame

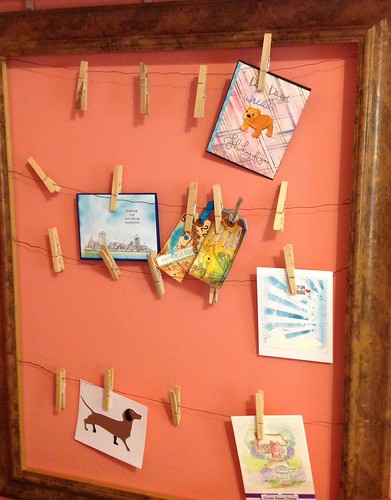
String wire to make a show case for cards

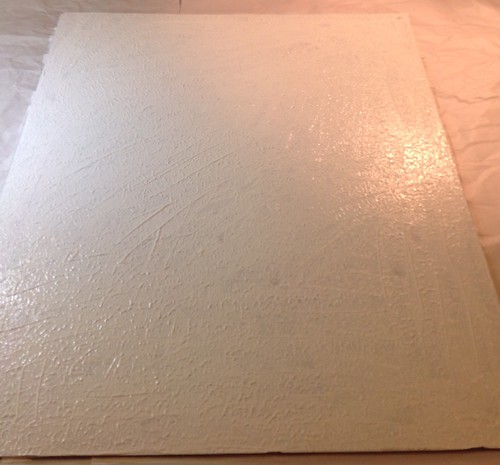
Use gesso to paint over the floral painting. Presto! A blank canvas. Once it dries.. Let the creativity flow.

Thursday, May 29, 2014

Colors Make me Happy

I absolutely love this color combo. I think I will make a dozen cards!

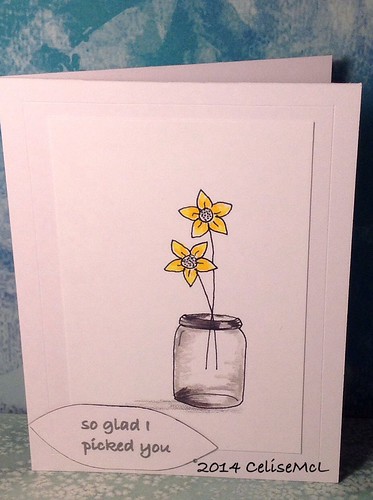
First, let me begin with clean and simple. For the card below I used the designs from Newton's Nook stamp set called versatile vases. This is a perfect example where less is more. I used prismacolor pencils ti color the vase and flowers and a grey gel pen for the sentiment.


I am submitting this for

  • The card concept challenge #11 CAS
  • Simon Says Wednesday Anything goes challenge


This card was done with stamps and distress ink on watercolor paper adhered to 3 layers of cardstock and embellished with ribbon, bow, chipboard, sequins and gems.

More yellow black white and grey. -- freestyle collage.

This one I am submitting for the card concept challenge #11 also


Have a nice day. Thanks for stopping by.


Sunday, May 25, 2014

Dog Days of summer

Found a new challenge this week. Runway inspired.. So from this

Came this

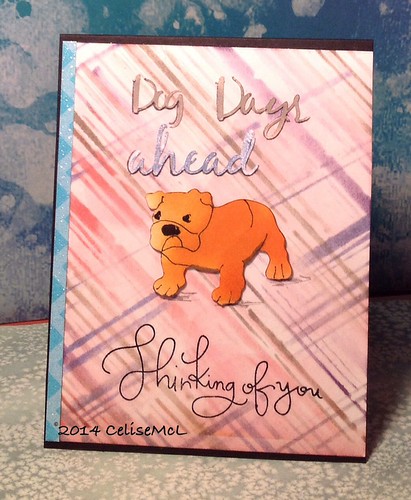
Can you see it? Ok, the dog on her top is not a bulldog, but it made me think bull dog. I don't know about where you live but here in the low country the dog days of summer are knocking on our door. And when they do I will be thinking of you.. My long sleeves and woolen plaids tucked away until winter. Not really. Oh hum.


Tuesday, May 20, 2014

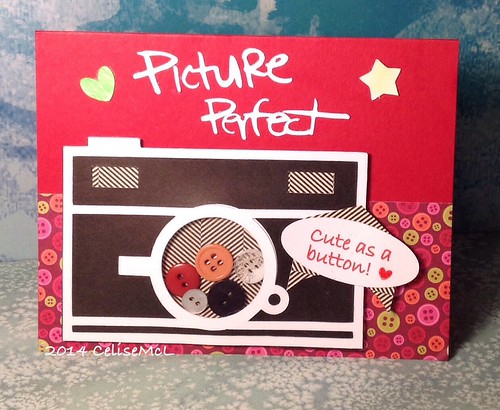
Picture Perfect

I created my first shaker card today and it was my first attempt at acetate. I watched a couple of videos on techniques, then tried my own.

I downloaded this free camera cut file on my silhouette a while ago and thought it would make an excellent base for my shaker and buttons would be perfect to "shake". I cut 3 levels of camera, one circle of acetate and eight white circles with internal offsets. I glued the circles together to provide the thickness needed for the shaker then placed adhesive strip along the outer edges.

"Picture Perfect" was cut from white cardstock on the cameo along with the heart and star. I used a gel pen to sketch the sentiment and colored in the heart. The button paper from my stash was adhered to the red Bazzill cardstock base.

I am going to submit this for the following challenges:

Challenge 35 Art Impressions "cute as a button"

Challenge 37 Little Tangles "Peek-a-boo" acetate cards


Photo inspiration

Love this photo, it is so springy! Cannot imagine anyone not being inspired to create something!

Since I have been away I was not able to get to this until today, the very last day to post.

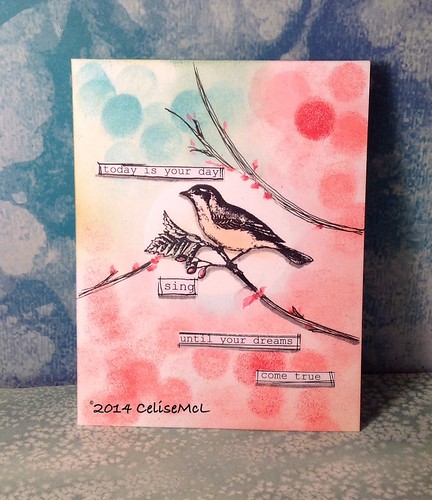
I just finished up a water color class where I learned to use rubber cement for masking. Who would have thought?.. First I stamped the bird in black then covered it with rubber cement in a circle. Then I used ink daubers in shades of pink, blue and green around the outer edge of the card and sketched the branches with a micron pen. Because rubber cement is resistant to ink, the colors did not bleed into the center. I used an ordinary eraser to remove the rubber cement then lightly colored his belly, leaf and berries.

The sentiment was cut from typing paper phrases I keep on hand and adhered with glue. Lastly I applied light grey marker for shadows. Although it is a one layer card, it appears to have dimension.


I am submitting this to Addicted to Stamps challenge #95 just under the wire!

Monday, May 19, 2014

Oh, so worth the wait..

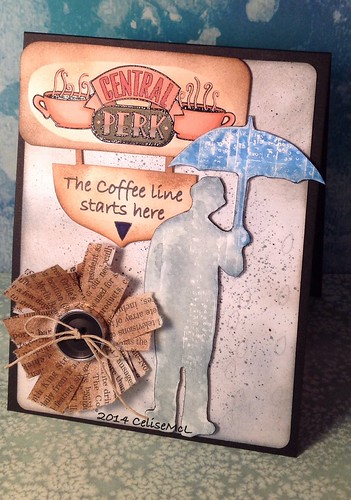
Have you ever stood I line, just dying for that first cup of coffee? The fabulous aroma of roasted coffee beans permeating the air? Addiction. Bliss.


Well that is how this poor guy feels right now, standing in the pouring rain waiting for his turn at the counter.

I found a new card challenge called the card concept. The card you create not only must follow the theme... This week. "COFFEE" ... It also must conform to a style. I picked Shabby Chic and Vintage and created this card with those elements.

I stamped the Tim Holtz Life possibilities umbrella man on watercolor paper with distress markers and cut him out. The central perk is a digital image I printed, masked and distressed.


The coffee Line sign I created and printed on my cameo. Lastly I distressed strips of newspaper with vintage photo and mounted with an old button and twine. It is representative of a newspaper stand outside the coffee shop.

For the background I created raindrops on white cardstock and printed with a silver sketch pen on the cameo. I then applied a mix of pumice stone and stormy sky distress inks, then lastly I spritzed with weathered wood and black markers. I used a black Bazzill card stock as the base.

I am submitting this for challenge #10 A Coffee Theme
 

Saturday, May 17, 2014

Watercolors at home

After 9 days of travel it is good to be home. Here again, I am playing catch up with my online card class.


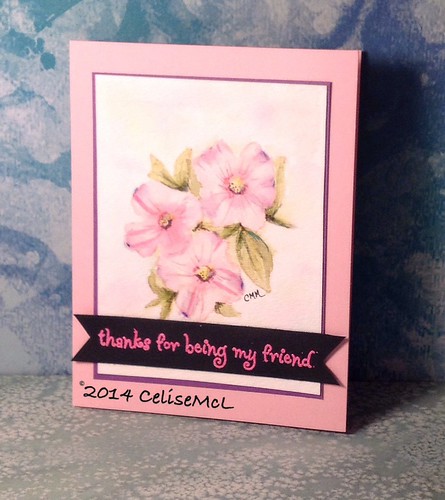
I did most of the painting on this card while I was away and finished it up today. It was based upon Day 8's Dawn Waleslagel. I picked up a dogwood stamp at a yard sale, I used a very light distress ink to give the outline then painted it with Koi Watercolors. I used Versamark ink and pink embossing powder with the Hero Arts "friends" stamp. Probably my best work.


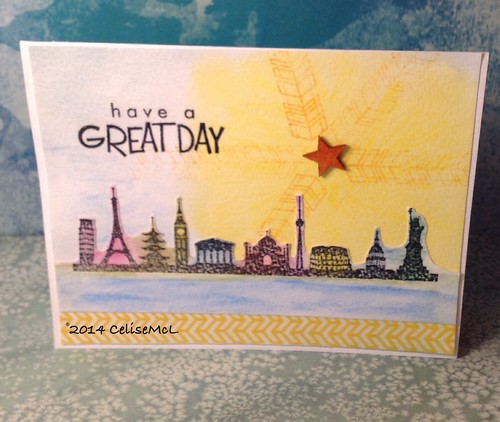
From day 5 I created this city scape of the world using water color pencils. At the beginning of this class I had neither Koi paints or water color pencils. I ordered them from Amazon and they were on my doorstep in less than 24 hours, free shipping! After I created the background with pencil, I went over it again with distress squeezed lemonade. The rays are a studio calico stamp in wild honey which I also used to color the chip board star. The strip at the bottom is washi tape, it fortuitively matched the rays stamp. The sentiment was for the Hero Arts Friends stamp set... Which I also picked up at the yard sale for $3. Never used. Great deal.


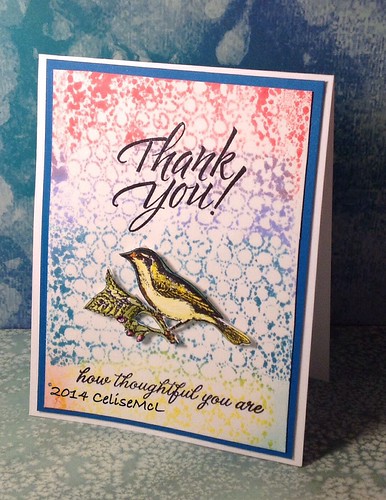
From Tim Holt's video on Day 11, I used one of his stencils and his inks to create the background. The bird is a hero arts stamp I had colored months ago as are both the thank you sentiments which I picked up, yep, at the yard sale!

Saturday, May 10, 2014

Have paints will travel

I am on the road and did not bring a whole lot of supplies. You don't truly appreciate your dedicated work space until you don't have one. If I had to haul out my stuff every time I wanted to create, there would be a lot less creations. That said.. Continuing on with day three of watercolor class and creative stamping.


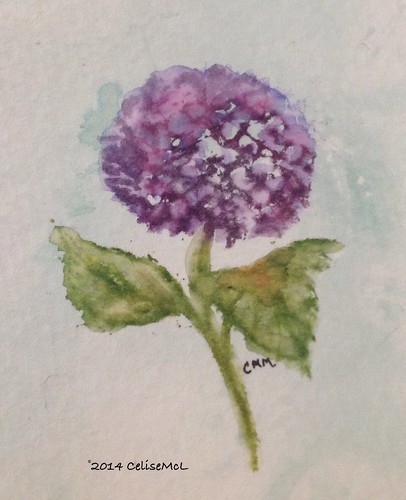
I did not bring any sentiments figuring I could create the cards when I got home. The watercolor on the left was created using a hydrangea stamp with distress markers. Since I had no acrylic block I had to use my craft sheet. I created a rectangle with evergreen bough then spritzed with water then laid my strathmore paper on top to get the background. Once it dried... No heat gun here... I colored the stamp with 3 purples, two greens and one huff and stamped the image. Using a paintbrush and water I pulled the colors and added a few additional here and there.


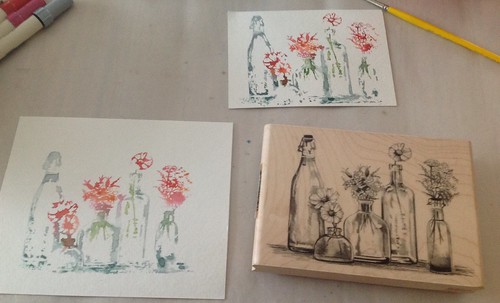
On day 4 I followed Shari Carroll's video to create a stamped image in watercolor using distress markers then left it alone to dry. I used red, orange, yellow, green and peeled paint. The top image was the first stamp and lower was the second. I have to agree, once dried, the second stamping came out best.

I will use both of these to create a card when I get home.

I especially like the way the peeled paint distress marker makes the bottles appear translucent.


Tuesday, May 6, 2014

Water color Day 2

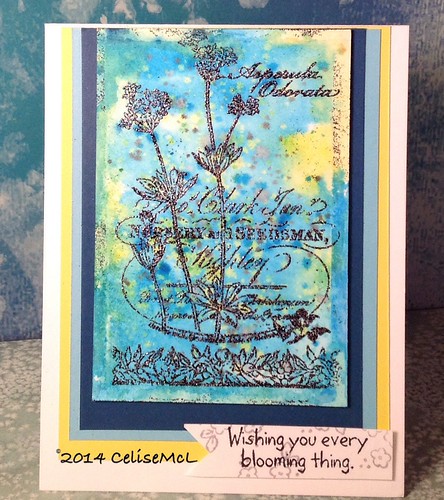
Today we are still working on watercolor backgrounds and I took off with conviction. I upped my watercolor paper and it has made all the difference. I made the background of this card with my crayola water color set. I mixed blues, yellows and green, then dropped in splatters including black. Then I let it dry for a few hours. I used the Stampendous stamp with Versamark and charcoal embossing powder. The sentiment came from the flower shop art impressions try fold set which I surrounded with Impression Obsession flowers in soft granite ink. The watercolor paper was mounted on two blues and bright yellow cardstock before mounting on the Neenah solar white card base.
 

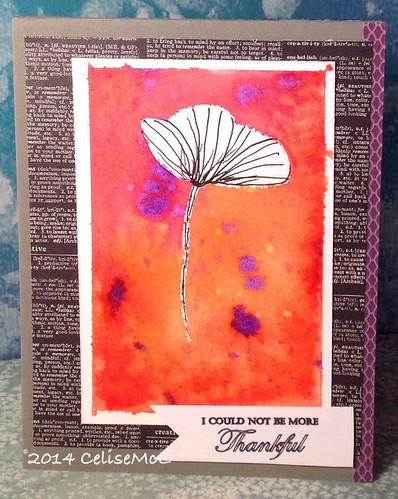
For the masking lesson, I created a mask on contact paper with my cameo of a poppy and attached it to the heavy watercolor paper. I used dark reds and oranges and some yellow to blend the colors. Afterwards I dabbed purple and moved it around by blowing through a straw. After the piece was dry, I removed the mask and hand drew the lines of the poppy with a micron pen. I printed the sentiment with my cameo sketch pen and cut it then mounted onto the creative craft stock and Bazzill base. For accent I used a line of purple washi tape along the edge.


This next project used an embossed background stamp watercolored with blues, pinks and purples. Once dried ai cut shapes with my cameo. The first card uses a Penny Black die cut in black and a hero arts sentiment. I used and oval stencil to embossed with a stylus, then used a gel pen for faux stitching. I used the TH spritzer with distress markers to get the background splatter and embellished with sequins.

Below are the other pieces cut from the same watercolor piece to be used another time.


Waiting for the paint to dry

I am in another card class this week, watercolor. The beginning classes are concentrating on backgrounds. I love the rainbow effect and how it looks as backgrounds.

For this card I used distress ink on watercolor paper to get the graduated color. I let it dry overnight, then mounted it on a piece of Neenah solar white cardstock with lots of tape runner to make it lie flat. Then mounted that on a purple bazzill card base.

The balloons were cut on my cameo, outlined with a micron pen then lightly shaded with the coordinating inks on daubers. I used the fiskars sentiment in color box purple on white cardstock and cut to a banner. Then adhered it to anchor the balloon strings so they wouldn't sail away.

Yesterday I had attempted to use water color paints and stencil. I didn't have the patience to wait for it to dry on it's own, so it was not quite so successful. Looks like it's raining in my birthday.. Not a very happy thought.

But now I am getting the hang of it. Paint... Leave it alone.. Do something else, come back later.

Thursday, May 1, 2014

May Birthdays

Lots of Birthdays in May. Just in the next few days there are three fantastic women in my life who are celebrating. I had to get cracking.

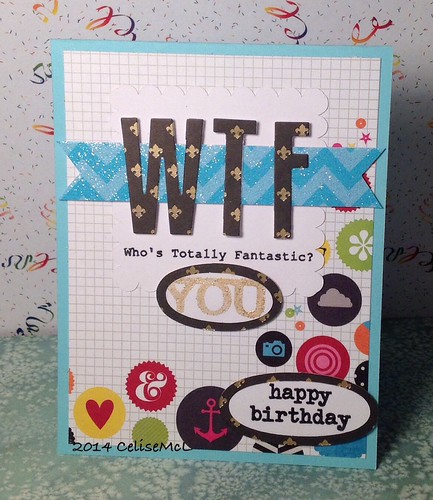
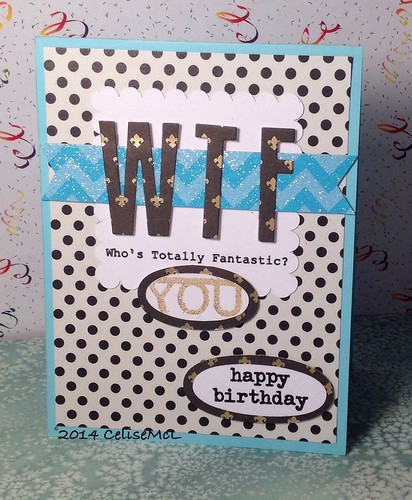
The sketch of the week at My Favorite Things was the above. I thought I could use my MFT letter dies and use those in the circle spaces. WTF.. We all know what it really means, but lately I have seen it used in difference contexts. "Who totally forgot" for a belated card. " who's turning forty" or "fifty". Those wouldn't work ... But, "Who's Totally Fantastic?" Yeah, baby. Three times!


I used DCWV black and gold fleur de lis cardstock as my beginning point and cut the letters three times using my Big Kick vintage. I used my silhouette cameo to sketch the Who's Totally Fantastic? sentiment on Neenah white cardstock then ran it through a second time to cut the scalloped border square around each. Also from the white cardstock I cut six ovals in two sizes, then cut their offsets in the black/gold paper.

I used a hero arts happy birthday stamp from the typewriter set and a YOU stamp I had created on my cameo. I embossed the You in gold and stamped happy birthday with stazon. For the backgrounds and banner I used cardstock from my April Simon Says card kits. It usually takes me a while to get around to using them, I have already received the May kit and haven't done anything with it either.

  • MFT get sketchy
  • Simon says work it Wednesday